Tuesday, October 5, 2010

Bath Towel that grows with your baby


Supplies: Large bath towel
Hand Towel
Matching Thread
Ribbon
Softies (rubber craft buttons)

Directions:
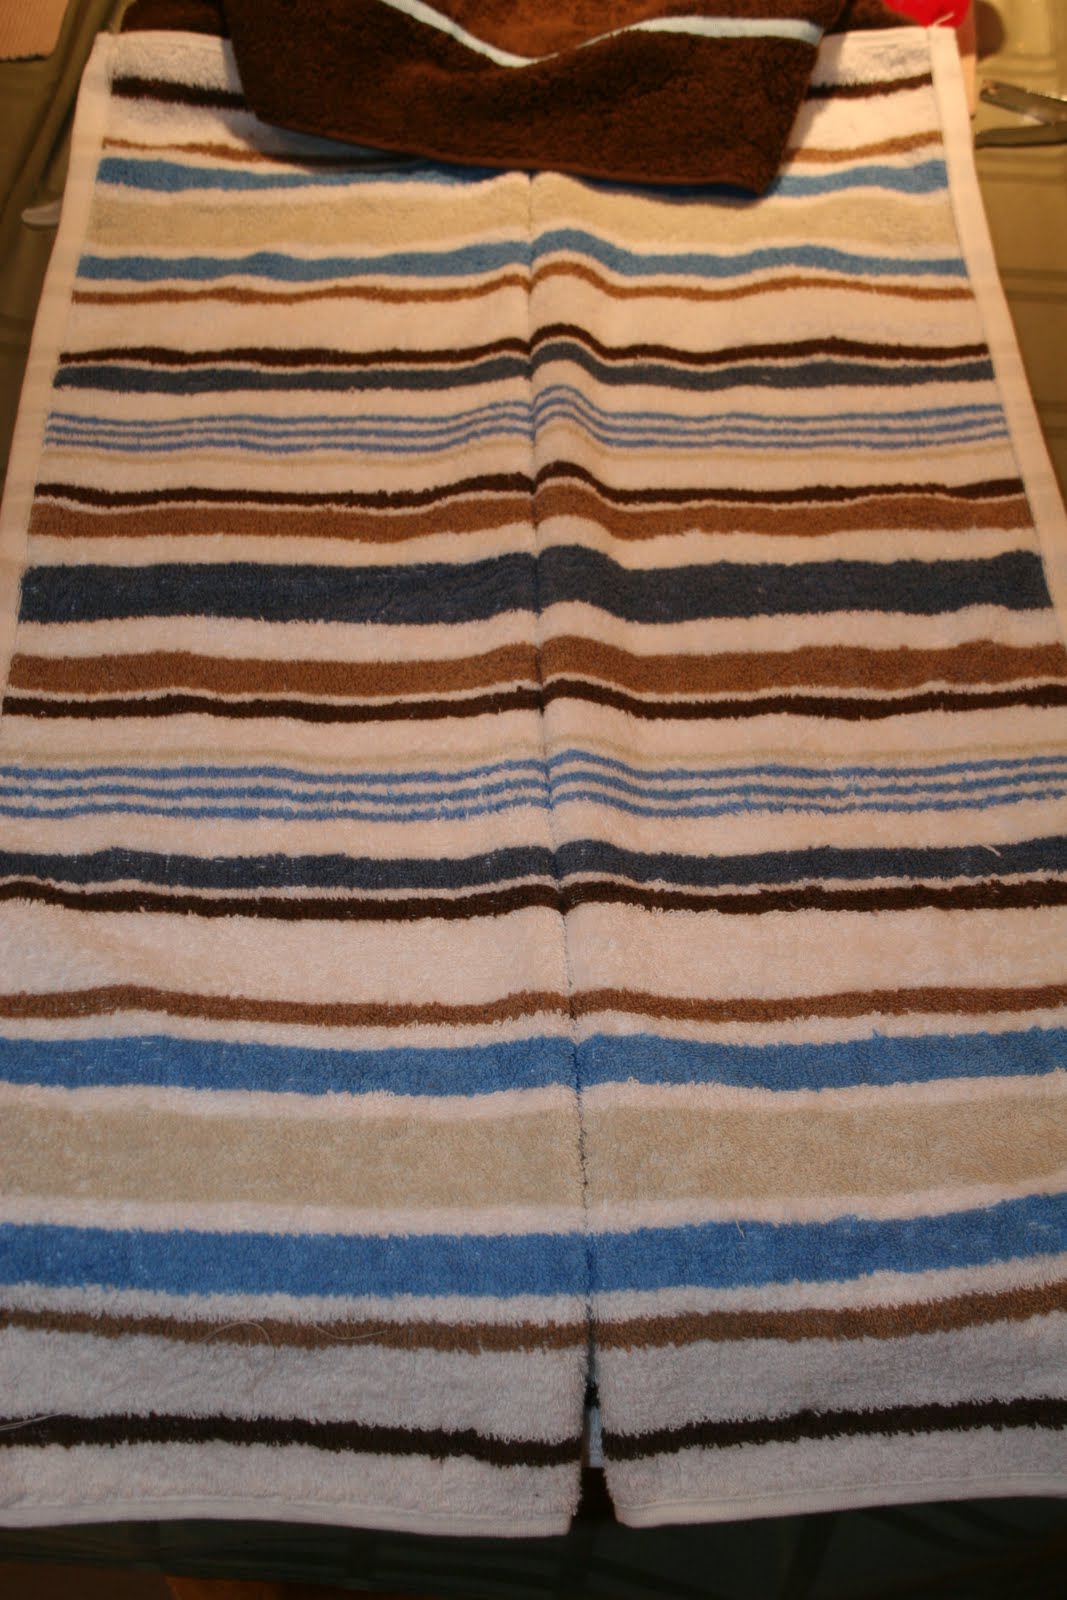
Sew hand towel lengthwise to the bath towel. Sew ribbon on the sides of the hand towel that will come together to form hood. Fold hand towel and turn hood sideways and sew edges of towel shut leaving the side open for the front of the hood. Turn corner of tip of hood inside out and fold flat so that you can sew a straight line across it to alleviate the point on the top of the hood.

A snugly towel that you can wrap around your baby and child almost like a sleeping bag. It's a perfect idea.

I love these towels, however I had been given 2 different designs each served their own age group, but didn't work well for the over all growth of a baby to a toddler/child.  One version is a bath towel with a washcloth as the hood with the sides and bottom sewn shut. Fine for a small baby, but not as they grow. The other a washcloth on a towel sides left open. This was ok, but not snugly and still hood was smallish as child grows. So I came up with my own idea that works well from infant up to child.  I attached a hand towel with ribbon for the hood and then sewed on a soft button (get in scrap booking section of craft store) on the bottom to enclose the bottom for the baby and when the growth of the child outgrows that size simply unstitch the button and then it is a regular hooded towel for an older child.  I have made these a few times for gifts. My kids love theirs and it is nice for shower time everyone has their own towel.

Made this one for a baby shower for a little guy who's dad is a huge baseball player. Baseball ribbon around hod and red ribbon down front to mimic the stitching on the ball. The buttons will eventually be cut off as this little guy grows, but until then the buttons hold the towel into the smaller position for drying baby after his bath.

Sunday, September 5, 2010

Card Table Play Houses


I had been looking for a playhouse to do for my kids and had seen some in canvas and also had seen one in felt.  I liked the combination of the two.  The canvas gave the durable side I was wanting, but the felt gave the colorful detail I wanted.  So I took an old ice fishing tent my husband had and converted it into 2 playhouses.  I made one more girly, and one more boyish.  I figure they will be good for when my kids have kids too.  They fit over a card table.   My kids love to build forts and I was hoping this would help curb the mess of the blankets being brought out into the living spaces to build their forts. These make a great private place for them to go to read also which is a huge plus.

This was a success and the kids like to play in the new forts.

Tuesday, May 25, 2010

Play kitchen a DIY repurposed Entertainment Center


I have been seeing these entertainment centers converted to a play kitchen for a few years and finally I decided I would tackle this project. It was very simple, just time consuming. I didn't have an entertainment cabinet, so I went to the local thrift store and picked one up for $20.00. If you watch around Spring clean up you may be able to snag one for free.


I have yet to install the shelf for the microwave above the stove top. I also haven't secured in the knobs for the oven. We are having a little creative differences on where the knobs should be placed. I like the idea of putting them were they are on a real oven on the front above the door, but miss M wants them as they are pictured. I guess I should just concede and put them where she wants them because afterall it is her kitchen. Ooohh so hard to give in since I think it is more cute with them on the front.


Glare on the picture took away from the view out the window which is a picture of our backyard (she didn't want the picture of her on the swing which I thought would have been really fun).

Monday, April 5, 2010

Creative Toes


In preparation for summer and for an upcoming activity in my Activity Days group I have been practicing painting my nails.  This is the bugs look and the sweet shop look.  Flowers, etc. yet to come. I apologize for not realizing we didn't do the cleanup of the polish before the camera shots. Oops.

Friday, March 5, 2010

Personalizing Onsies with an Appliquae


When I gift I like to have the gift be a personal one.  I love to make them with a little personality from me and from the one receiving them.  This makes it more fun for me to give and more fun for the receiver to have those connections.  A fun thing to do to personalize the clothing is to attach appliques to the onsies.  I wasn't finding any cute fabric to use for what I had in mind.  So I found some sheets that I liked.  They were enclosed in a cloth bag out of the same material.  So I used the bag for one of my designs and the sheets for my daughters bed.  For the cupcake I just used scrap material and ribbon from previous projects and was so happy with the result.

FUN!


Wednesday, September 23, 2009

Baking with Pumpkin

[Photo] There is something so comfortable feeling in the fall as the smell of pumpkin and spices cooking. I baked some pumpkin chocolate chip bread and had left over pumpkin so I decided to make some cookies too. They smelled so yummy and the kids love coming home to the smell of something baking. I am keeping this one short since I need to go make some grape jelly out of the juice I was given as a gift for my grapes which will make another yummy smell. I am glad my mom taught me these skills to bless my family with. They enjoy home made more than from the store.Apparently I can't count, I just noticed I only tagged six (can you tell my mind is pretty overwhelmed these days?) So I am adding Bryan P (i'm sure you'll have fun with this, can't wait to read it).

Tuesday, September 22, 2009

Denim Bag


Instructions:
Start with and old pair of jeans and cut them into a pair of daisy duke shorts. Unpick the inseam (crotch) and turn inside out. Cut off the edges that curve out so you have made straight sides.
Bag:
Take and sew the sides to complete the straight line being enclosed for the side of the bag. Use the zig zag or finishing stitch along the bottom and any unfinished side edge to prevent fraying. Turn bag making bottom edge facing up and is now folded angled to the stitch. With the straight stitch on the machine sew across the corner making a triangle. This will allow for the bag to have the flat bottom. Turn bag right side out. At this point attach the finished straps to the bag so that one strap starts and finishes on one side of the bag. (this way the bag lays flat so one strap is only on the front of the bag and the 2nd strap is only on the back of the bag.)


Straps:
Take the legs of the pants that you cut from the top portion and unpick or cut the seam from the side. I suggest cutting along the seam it is much faster than unpicking and you don't miss the minor fabric that was cut off. Cut in half preserving the length of the denim. Turn each piece so right sides are folded together lenghtwise and sew the long edge using the zig sag to prevent fraying. Then turn denin back so the seam is on the inside, finish the edges with the zig zag and change stitch on machine to do 4 finishing stitches on the straps. You can use a brighter thread for eye pop, or contrast to brighten up the straps also. This is mostly for eye appeal, however it also serves to give a nice flat finished strap.