Showing posts with label Sewing. Show all posts

Thursday, June 4, 2015

I Spy Bags


Supplies

Fabric swatch
Matching Thread
Plastic sheet (from fabric store)
Trinkets, fancy buttons, themed buttons (fabric or craft store)
1 bag of plastic pellets (from craft store)
ribbon
Metal ring (Office supply store)
Fabric scissors
Sewing Machine
                                                                                    Craft paper


Cut 2 Fabric pieces into a square measuring8" x 8". Cut the center out of the piece for the front as a 3 3/4" square. (This is for the plastic sheet to be sewn to)
Cut the plastic sheet into a 4 3/4" square.

For the front piece cut the corners of the inner square about an 1/8"to 1/4". Just enough to turn under to have a finished edge showing for the front. With this folded under sew the plastic sheet to the unfinished side enclosing the folded fabric edge around all 4 sides of the fabric. Then move the sewing needle 1/8" from the inner stitch and sew another stitch for reinforcement and also for aesthetics.

Cut a rectangle piece of matching fabric for the pocket to sew onto the piece of fabric for the back of the bag. Determine how wide you want your cards with the contents in it to be and cut that pocket size accordingly. Fold under the edges of the pocket piece and again then iron in place. Place the pocket piece as you want it placed on your bag and then sew on the edges tacking down what you ironed so that the edges on the inside of the pocket are finished clean and aren't exposed to fray and now sealed shut.

Place the back panel of fabric and the front panel of fabric right sides together and sew the edges using a 1/4" to 5/8" seam then do a parallel stitch right next to that to reinforce for strength.On the top edge sew a looped piece of ribbon with the metal ring looped through ribbon. This is what you will attach the I Spy cards to. Leave a 1" to 1 3/4" opening on the side to allow for filling of contents. After you have filled with the cotton pellets and trinkets/buttons, fold the unfinished edges of fabric inward. Sew along the unfinished opening to seal the edges with a straight stitch overlapping the sewn borders slightly and reverse stitch to reinforce.

For the cards:
Make a list of the trinkets to go inside the bag. Arrange trinkets into categories such as colors, themes, size, functions etc. Give these sections a fun title on your cards. ex. Sports, Nature etc.
Design a figure with craft paper representing a few of the items in the bag to glue next to those items on your lists. Type up the list and glue to colored paper, place your pictures with the coordinating list and laminate cards. Punch a hole in the top of each card

Tuesday, June 2, 2015

Surgical Hat

Supplies needed: 
Cotton Fabric 45" wide get 18" long.
1/4" flat elastic (at least 6 inches).
Matching thread.
Ruler
Fabric Scissors
Sewing Machine

Cut a circle 18" wide. This is your hat.
Cut an oval with pointed ends 14.5" x 6"This is your forehead band


Fold circle in fourths to mark the points of center front and center of each side with a pin. Also fold the forehead band in fourths to mark the center point with a pin.
Sew a finishing stitch of your choice around the edge of the circle and also on the rounded edge of the forehead band. Make sure the right sides of the fabric are facing out on the forehead band piece of material. Sew a single stitch line across the front of the forehead band on the straight edge. Then move the foot placing edge of the foot on the stitch line and sew a straight line parallel to the finishing edge stitch.


Sew an elongated straight stitch (machine set at 6.0) along the front half of the hat with the foot on the edge of the fabric.

 Then sew a second stitch parallel to that stitch as close as you can. Use 2 different colors of thread for the spool and the bobbin to help differentiate when it comes time to gather. This is a stitch you will use to gather each side of the front of the hat by pulling on the top stitches equal to each other from the center front pin to each center side pin. Gather enough that when you put the forehead panel centered on the front center pin each side will extend to the side pins where the gather stitch ends.A bobbin is placed in the pictures where the center pin is for the side of the hat.


Pin the edges of the forehead band to the front edges of the hat by aligning the center marking pins to each other right sides of fabric facing each other. Sew a regular single straight stitch starting 1/2 inch from the tip of the fabric forehead band to 1/2 inch from the other tip edge.

 Turn the forehead band away from the main fabric of the hat. On the under side of the hat turn down the sewn together edges so that they lay flat facing toward the front of the hat. Sew a finished straight stitch along this edge to flatten and form the front band to the main body of the hat. Then repeat a parallel stitch equal distance (usually the foot edge of the machine runs along this stitch as you sew the parallel line). This gives the same appearance as the original stitching done at the straight edge of the forehead band as well as securing the bottom edge of the combined fabric pieces.


 Next sew a straight stitch along the remaining edge of the fabric 1/2" from the edge, which is the back of the hat. This becomes your folding edge for the channel you will sew for your 1/4" elastic band. To make the channel fold the fabric on this line and then sew a straight stitch on the edge of this folded turn in the fabric. Or you can fold the fabric 1/2" and sew the center edge and then sew a finishing straight edge along the outer edge of the fabric.

Next cut 6" piece of 1/4" elastic to attach to the back of the hat and pull through the channel. Start by putting a safety pin into the end of the elastic and start threading the elastic into the channel you just sewed. When the end of the elastic is at the opening of the channel sew a straight line at least 4 times back and forth to secure it in place. Then pull the pin through the fabric channel which starts to bunch the back of the hat. Do this until the pin comes out the other end of the channel. Secure the safety pin into the elastic still and then the fabric. Try on the hat and adjust the length of the elastic as necessary to your head. Sew that end in place with the same back and forth straight stitch. Cut off the end or just remove the safety pin.
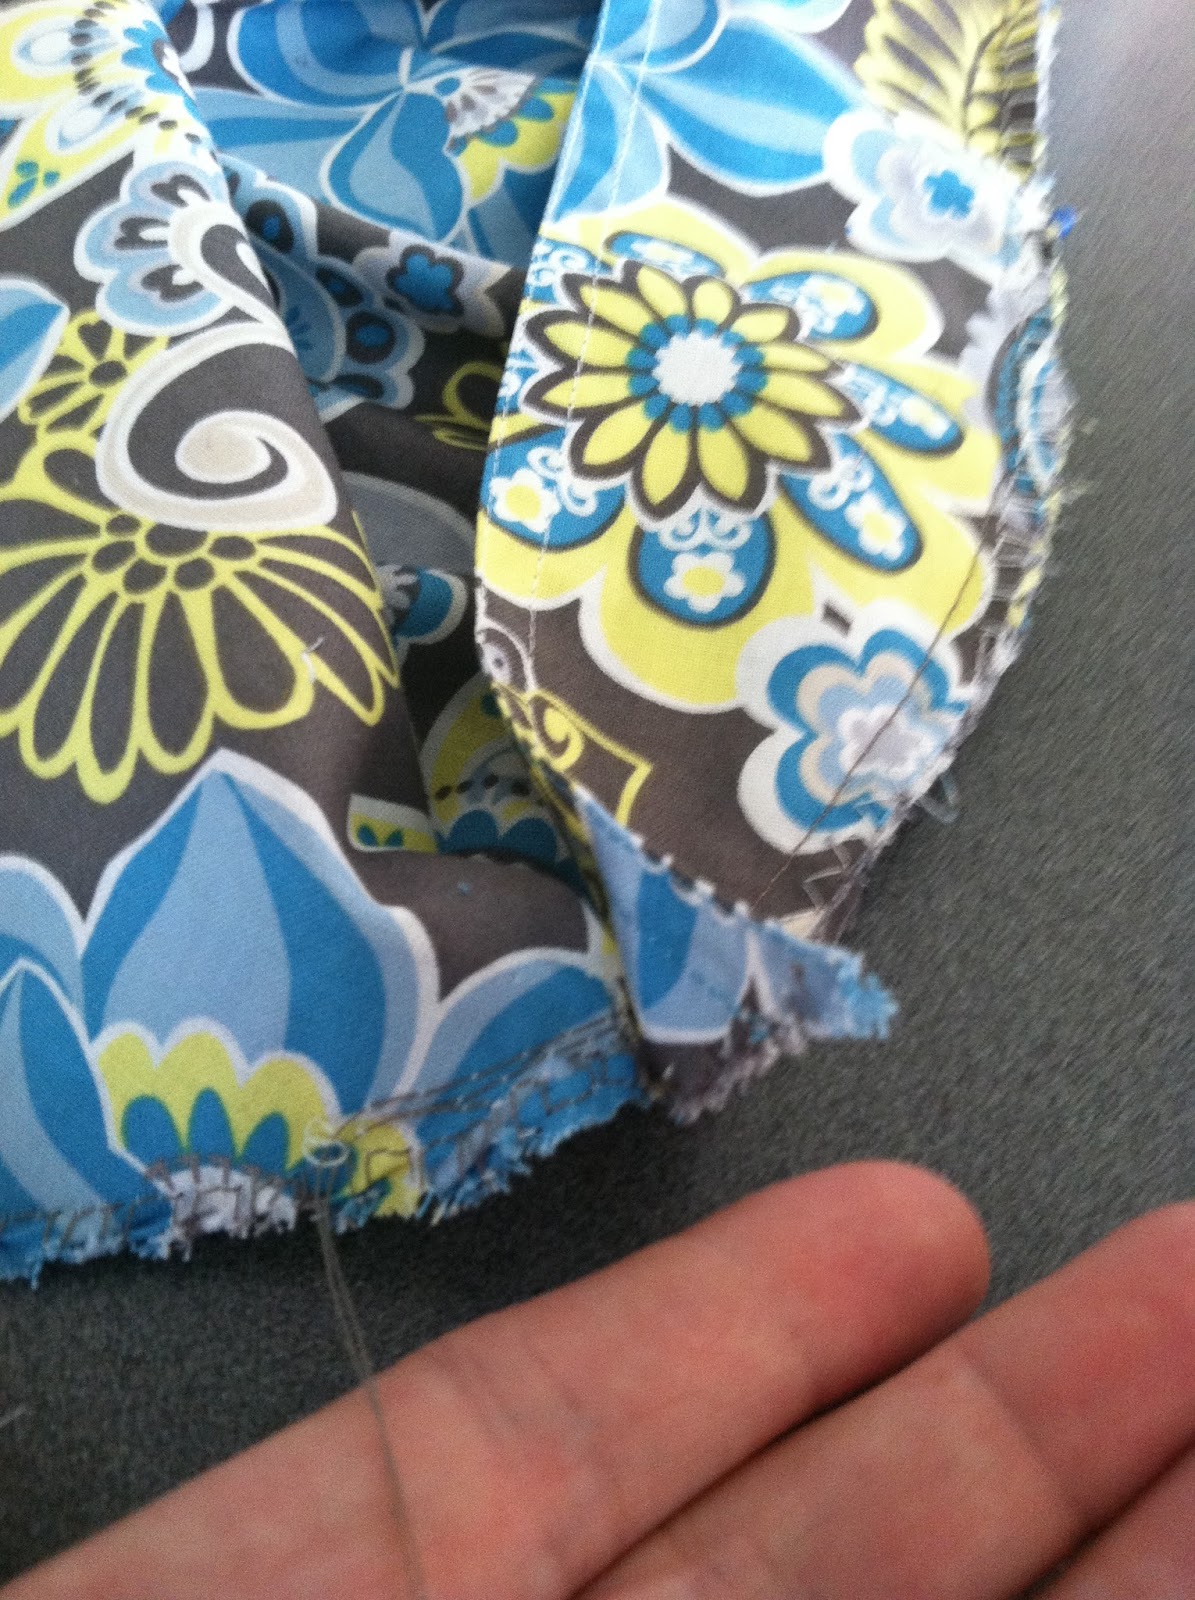
Now you are to take care of the flaps you created with the forehead band at each side of the hat. Fold the edge into a straight point and then sew this flat covering the opening of the elastic channel. Put a nice finish stitch to tuck under the loose unfinished edge.
 
 Last lay this finished point against the edge of the side of the hat and connect it with a straight stitch along the seam line you previously created so that it continues on with a finished look. You can use a small tight zigzag stitch if there are any loose edges that need to be finished off right at the finishing point very small so it is not noticed. Continue the parallel stitch lines so it is a completed look while doing this have it lined up so the fabric edges are straight finishing off the hat attaching the last edges together.


Tuesday, October 5, 2010

Bath Towel that grows with your baby


Supplies: Large bath towel
Hand Towel
Matching Thread
Ribbon
Softies (rubber craft buttons)

Directions:
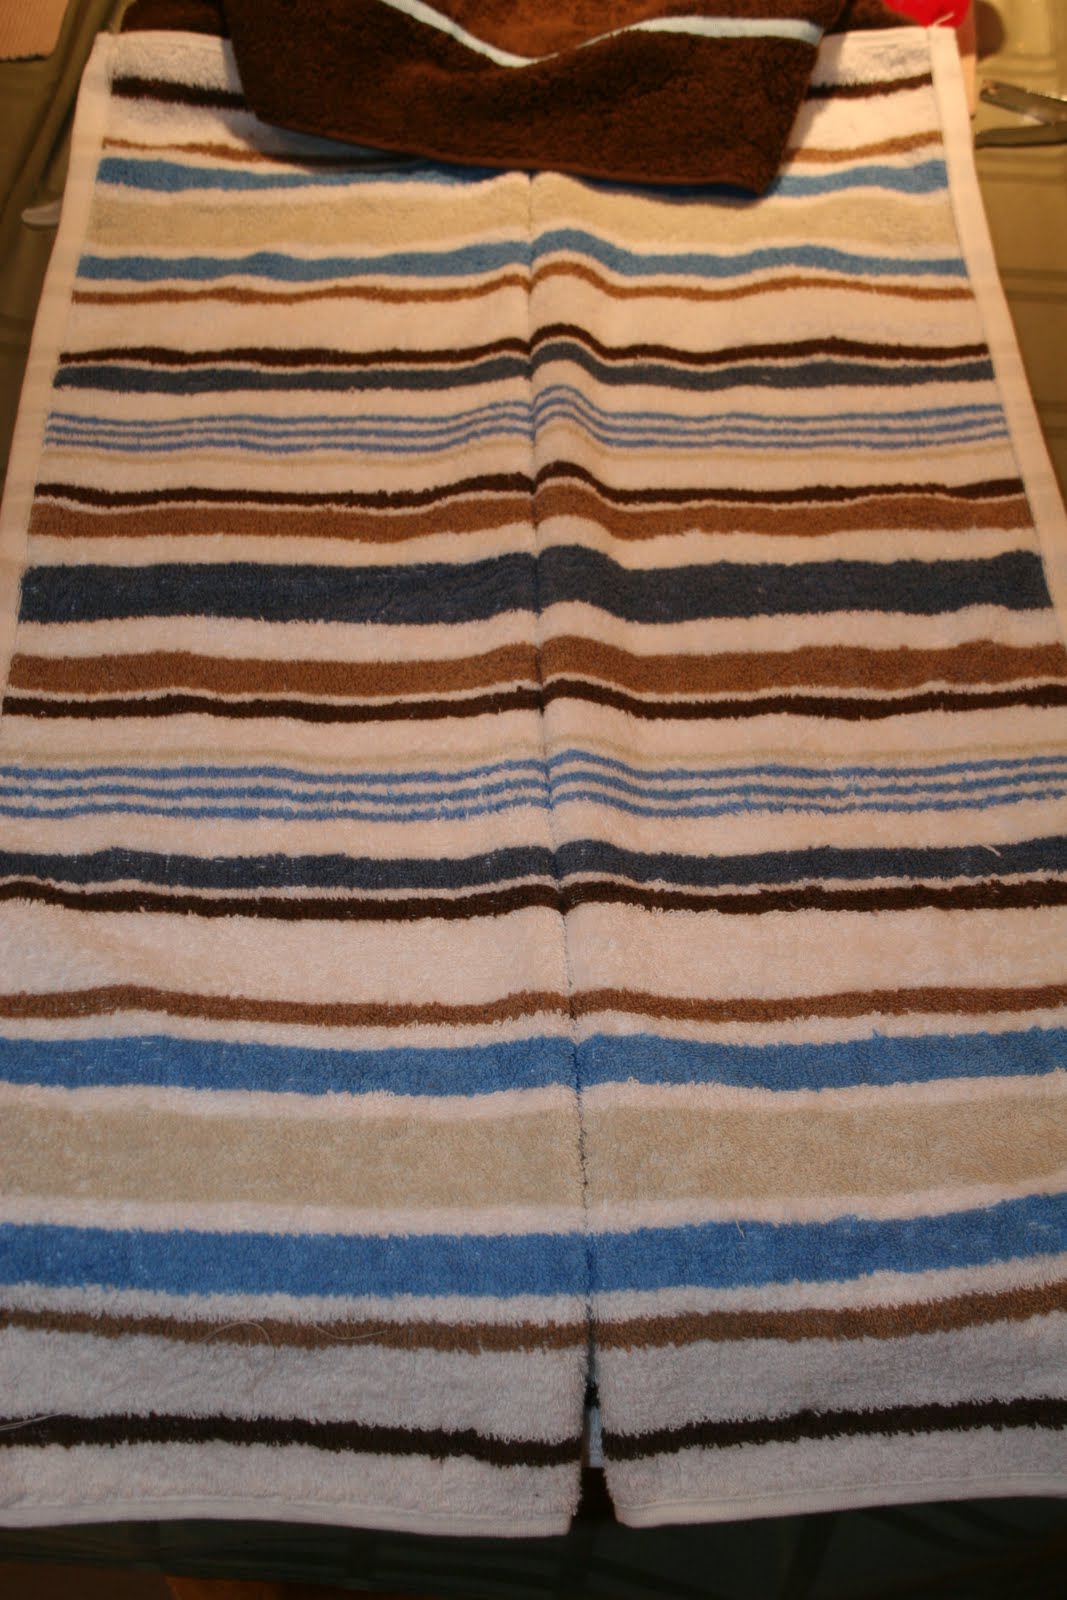
Sew hand towel lengthwise to the bath towel. Sew ribbon on the sides of the hand towel that will come together to form hood. Fold hand towel and turn hood sideways and sew edges of towel shut leaving the side open for the front of the hood. Turn corner of tip of hood inside out and fold flat so that you can sew a straight line across it to alleviate the point on the top of the hood.

A snugly towel that you can wrap around your baby and child almost like a sleeping bag. It's a perfect idea.

I love these towels, however I had been given 2 different designs each served their own age group, but didn't work well for the over all growth of a baby to a toddler/child.  One version is a bath towel with a washcloth as the hood with the sides and bottom sewn shut. Fine for a small baby, but not as they grow. The other a washcloth on a towel sides left open. This was ok, but not snugly and still hood was smallish as child grows. So I came up with my own idea that works well from infant up to child.  I attached a hand towel with ribbon for the hood and then sewed on a soft button (get in scrap booking section of craft store) on the bottom to enclose the bottom for the baby and when the growth of the child outgrows that size simply unstitch the button and then it is a regular hooded towel for an older child.  I have made these a few times for gifts. My kids love theirs and it is nice for shower time everyone has their own towel.

Made this one for a baby shower for a little guy who's dad is a huge baseball player. Baseball ribbon around hod and red ribbon down front to mimic the stitching on the ball. The buttons will eventually be cut off as this little guy grows, but until then the buttons hold the towel into the smaller position for drying baby after his bath.

Friday, March 5, 2010

Personalizing Onsies with an Appliquae


When I gift I like to have the gift be a personal one.  I love to make them with a little personality from me and from the one receiving them.  This makes it more fun for me to give and more fun for the receiver to have those connections.  A fun thing to do to personalize the clothing is to attach appliques to the onsies.  I wasn't finding any cute fabric to use for what I had in mind.  So I found some sheets that I liked.  They were enclosed in a cloth bag out of the same material.  So I used the bag for one of my designs and the sheets for my daughters bed.  For the cupcake I just used scrap material and ribbon from previous projects and was so happy with the result.

FUN!


Tuesday, September 22, 2009

Denim Bag


Instructions:
Start with and old pair of jeans and cut them into a pair of daisy duke shorts. Unpick the inseam (crotch) and turn inside out. Cut off the edges that curve out so you have made straight sides.
Bag:
Take and sew the sides to complete the straight line being enclosed for the side of the bag. Use the zig zag or finishing stitch along the bottom and any unfinished side edge to prevent fraying. Turn bag making bottom edge facing up and is now folded angled to the stitch. With the straight stitch on the machine sew across the corner making a triangle. This will allow for the bag to have the flat bottom. Turn bag right side out. At this point attach the finished straps to the bag so that one strap starts and finishes on one side of the bag. (this way the bag lays flat so one strap is only on the front of the bag and the 2nd strap is only on the back of the bag.)


Straps:
Take the legs of the pants that you cut from the top portion and unpick or cut the seam from the side. I suggest cutting along the seam it is much faster than unpicking and you don't miss the minor fabric that was cut off. Cut in half preserving the length of the denim. Turn each piece so right sides are folded together lenghtwise and sew the long edge using the zig sag to prevent fraying. Then turn denin back so the seam is on the inside, finish the edges with the zig zag and change stitch on machine to do 4 finishing stitches on the straps. You can use a brighter thread for eye pop, or contrast to brighten up the straps also. This is mostly for eye appeal, however it also serves to give a nice flat finished strap.


Tuesday, August 11, 2009

Apron


I bought this fabric 2 years ago and made aprons for all of M's friends for Christmas. Of course I left her's until the last and it didn't get done. So I have noticed a lot of you are doing aprons lately so it motivated me to get it done. Of course it took all of a half an hour to do so I am so shamed for not having gotten to it sooner. And it fits perfectly and will work for a few years still. Yay! It is a reversable apron with the floral print for the other side.